Bonjour, Bonne année à tous et joyeux jeudi!
Well, I’ve completed my journey at UCLA. I’m officially a graduate with a degree in French and Francophone Studies. I’ve been home for just over a month and I finished my course work and senior research project in mid-December. I’ve been sick twice, nothing major, but more annoying than anything. I am working on catching my breath after a very long four years of pursuing a lifelong dream (or two). This will be something to look forward to in a future post.
I took this photo Friday morning, December 6th, while I was walking to my last class of my undergraduate education at UCLA. This is the last photo I took before I packed up to come home the following day. It is of Royce Hall. In June of last year, I walked at graduation in Royce Hall and all my French professors have offices there. It is by far my favorite building on campus. It was early and I wanted to really savor the moment as much as possible.

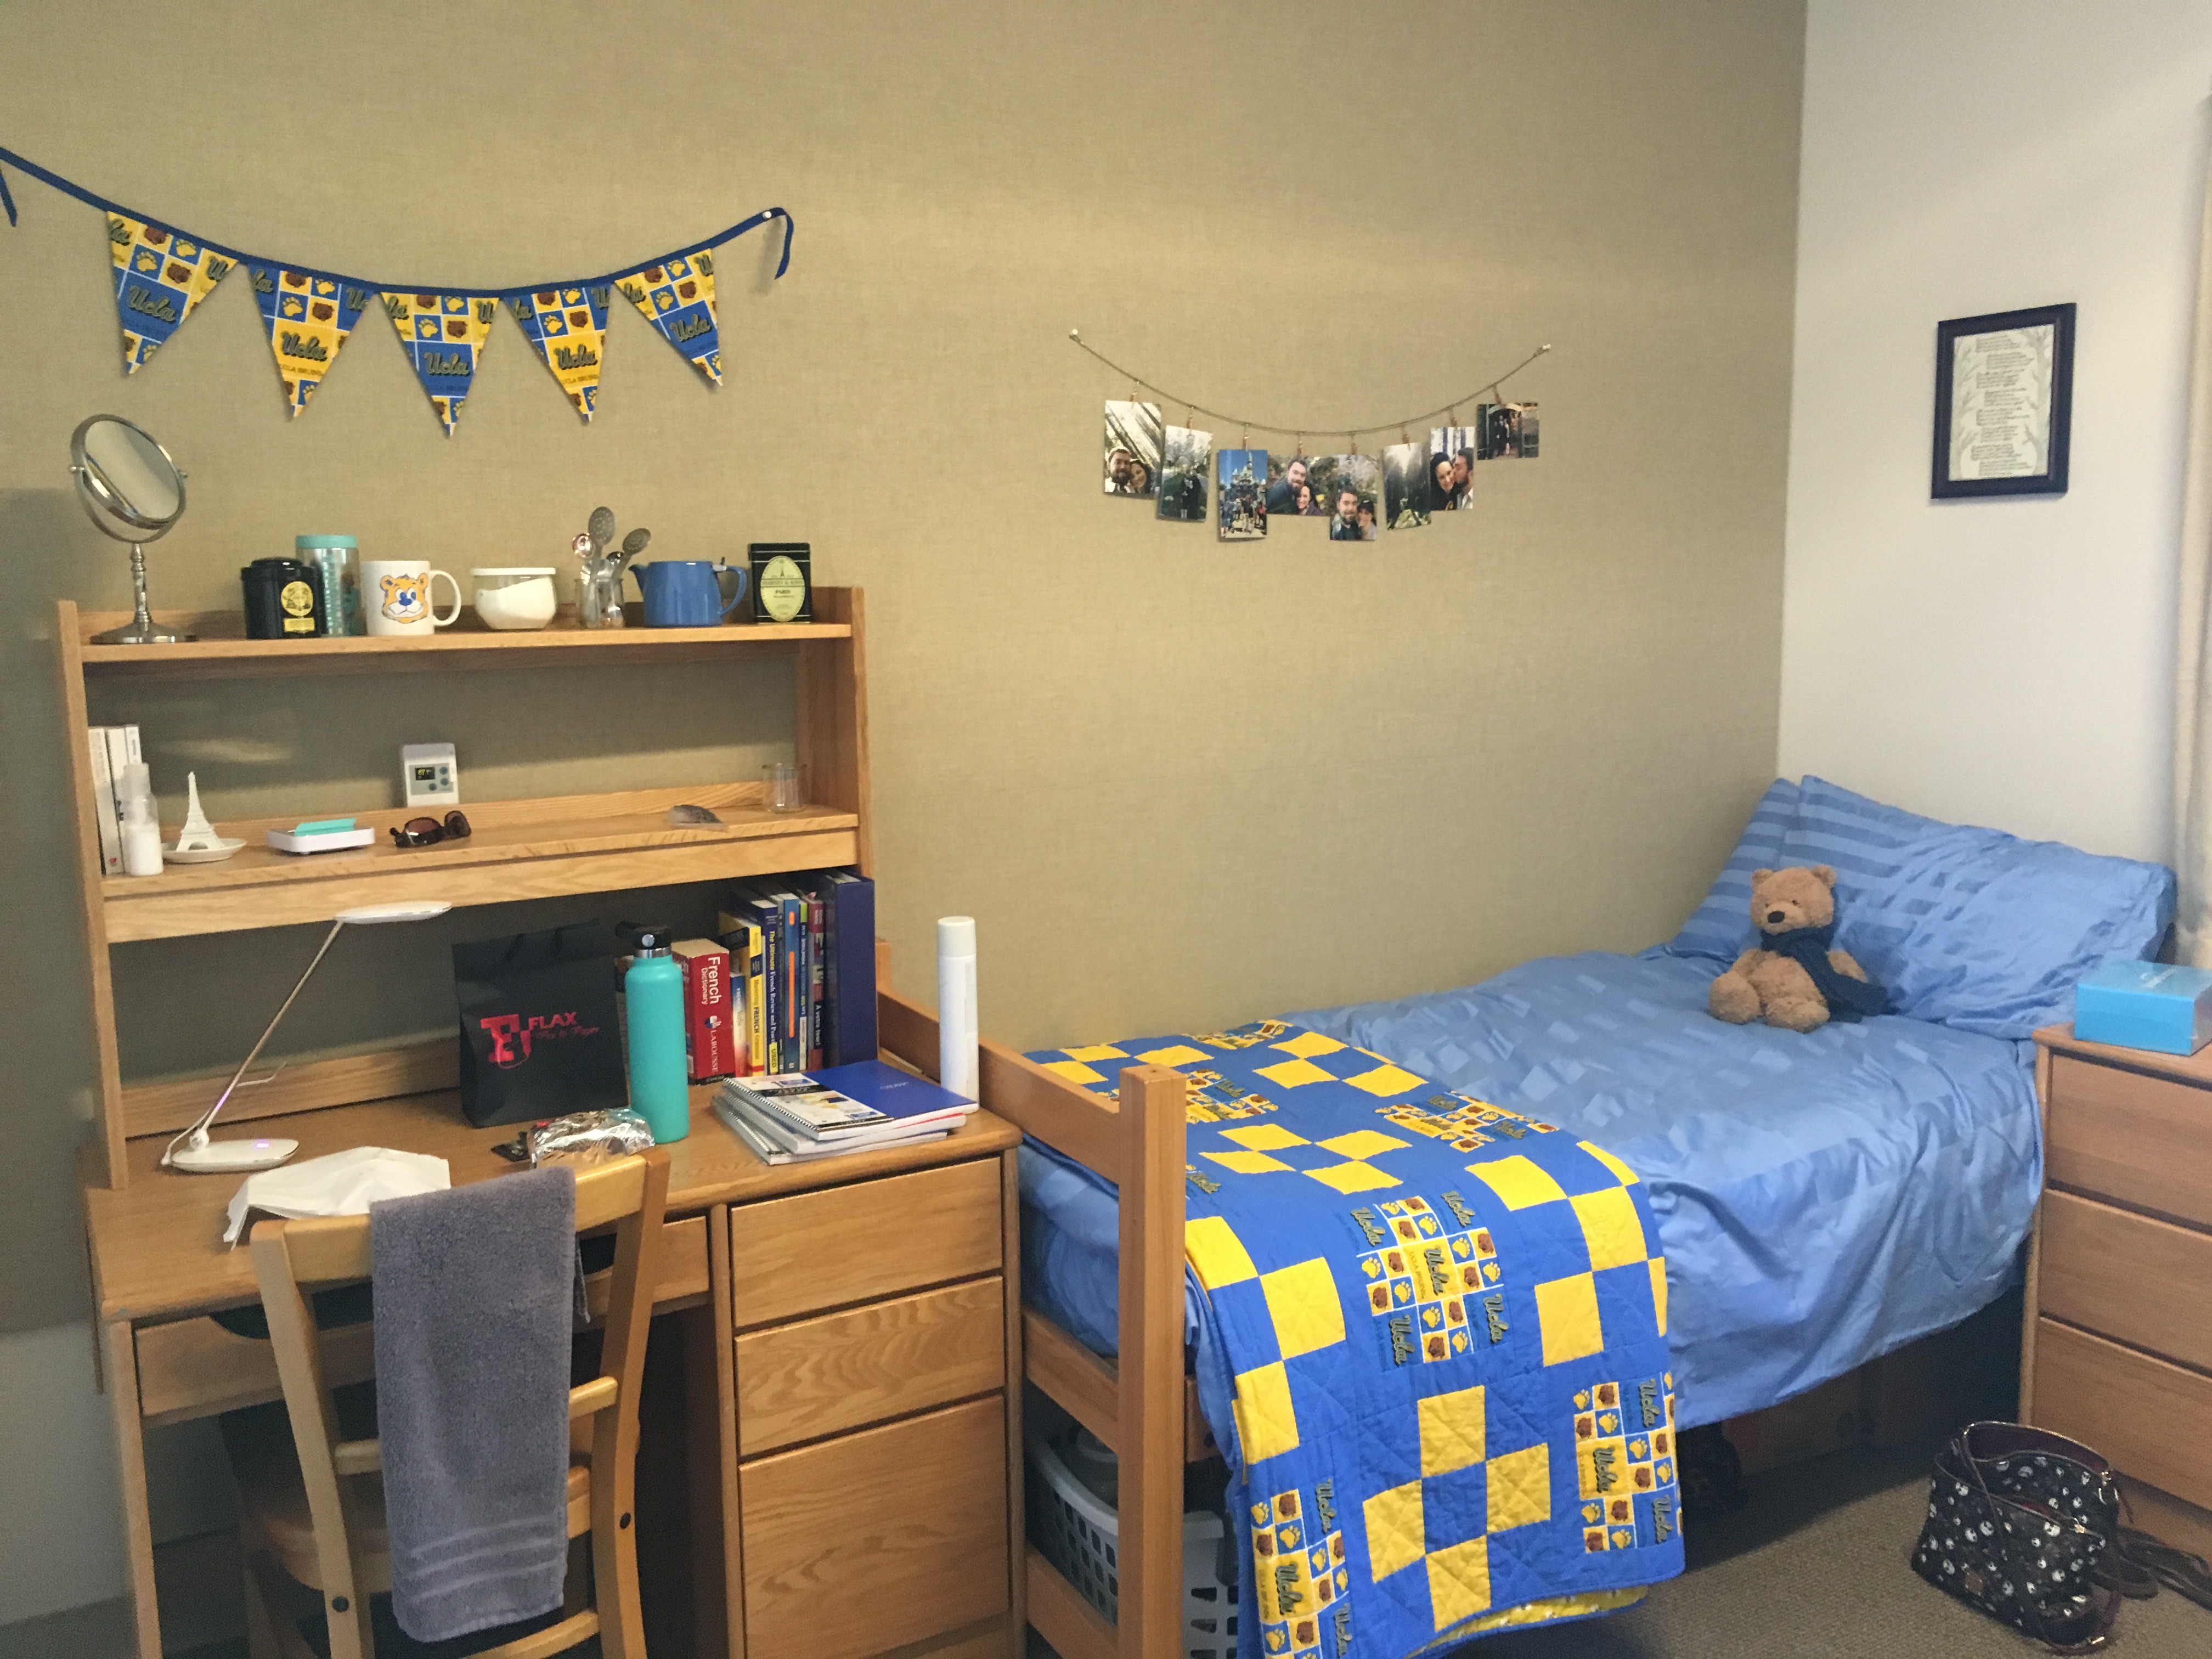
Now that I have sort of caught my breath and I am close to finally feeling better from being sick for the second time, I had to start making food. I have missed time in the kitchen. During my time at UCLA, I was living in the dorms on the Hill which meant the closest thing I got to make was tea or microwave popcorn, ramen, or mac and cheese. It was college life! Although, I’m pretty sure I was the only one with a temperature controlled electric kettle in her dorm room (shhhhhh!). You know I can’t live without my daily cuppa!
There is something magical and relaxing about cooking, so let’s get to my newest recipe. Well, it’s new to you but I’ve been making it for probably about 4 years since I went back to college. The library I frequently studied at had a bistro and they made this chicken salad. It was one of my favorite things to eat there until the bistro stopped making it. Have no fear, I have recreated it and it’s even better than what they had!
The Maille cornichons can be purchased at a grocery store and the photo is below of the jar. It even comes with an ascensceur des cornichons (pickle elevator). It is the green piece you see on the bottom of the jar. It even has a hook on it so you can place it on the lip of the jar to access the petite cornichons with ease! Brilliant, n’est-ce pas?
This is my rendition of the bistro’s Tarragon Chicken Salad:
Recipe Tarragon Chicken Salad (8-10 Sandwich Servings)
Ingredients
- 1/2 cup mayo
- 1 tsp Amora Mustard (you can use dijon in a pinch)
- 1-2 teaspoons of Maille Cornichons liquid
- 1/4 cup (heaping) of roasted unsalted cashew pieces
- Salt and Pepper to Taste
- 1lb of chopped rotisserie chicken
- 3 celery stalks quartered and diced
- 1 to 1 1/2 Tablespoons of finely chopped tarragon
- 1 green apple diced
2 Bowls – one small bowl for the mayo mixture and a larger bowl for all the ingredients and to toss the mayo mixture in at the end.
First, clean the green apple and celery stalks by rinsing and drying them. Set aside.
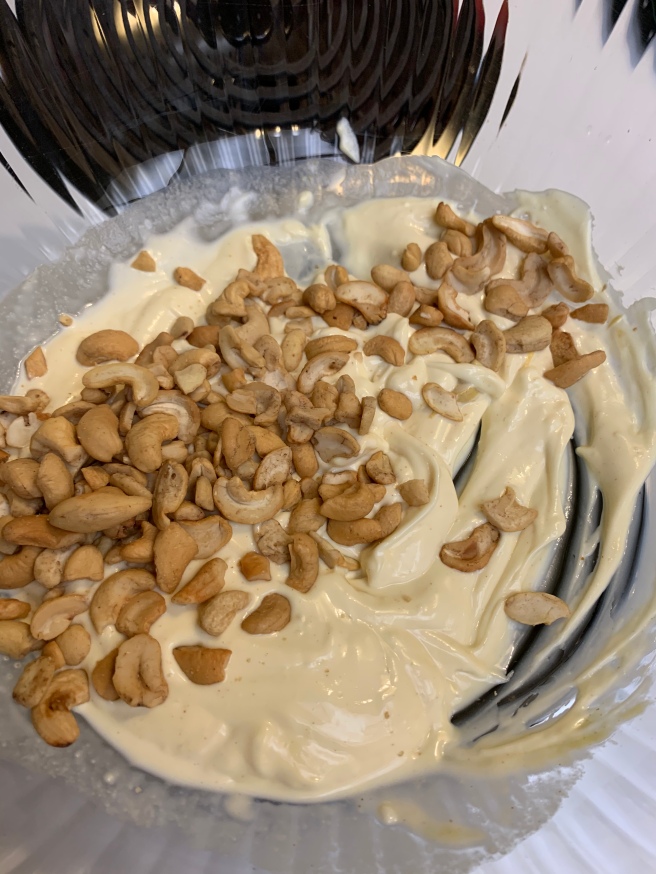
Second, take the mayo, mustard, cornichons liquid, and combine well in a small bowl with cashew pieces, and set aside. Almonds are also a good option.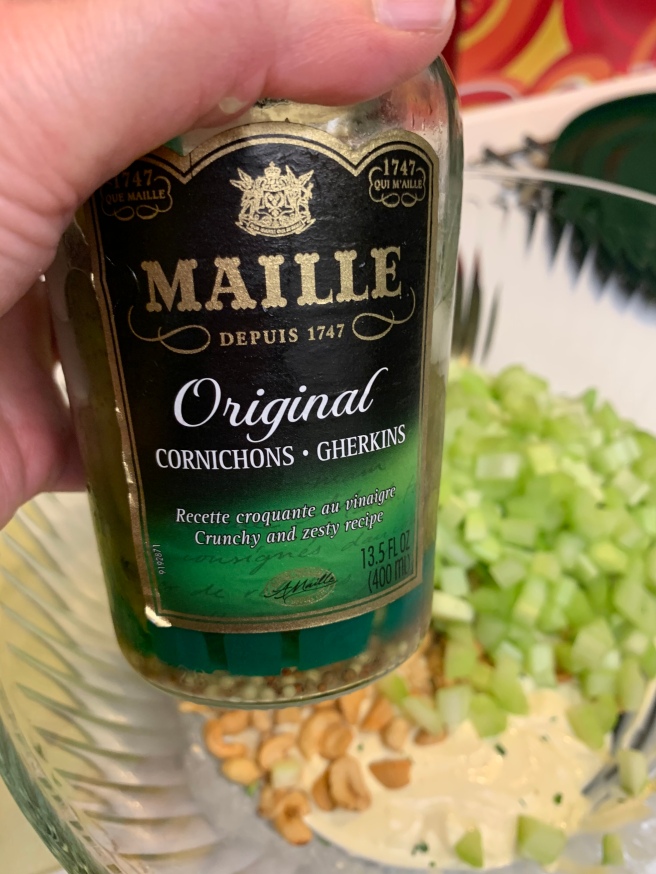
Third, finely chop the tarragon and put into the large separate bowl. I sometimes add chopped chives but I did not this time.
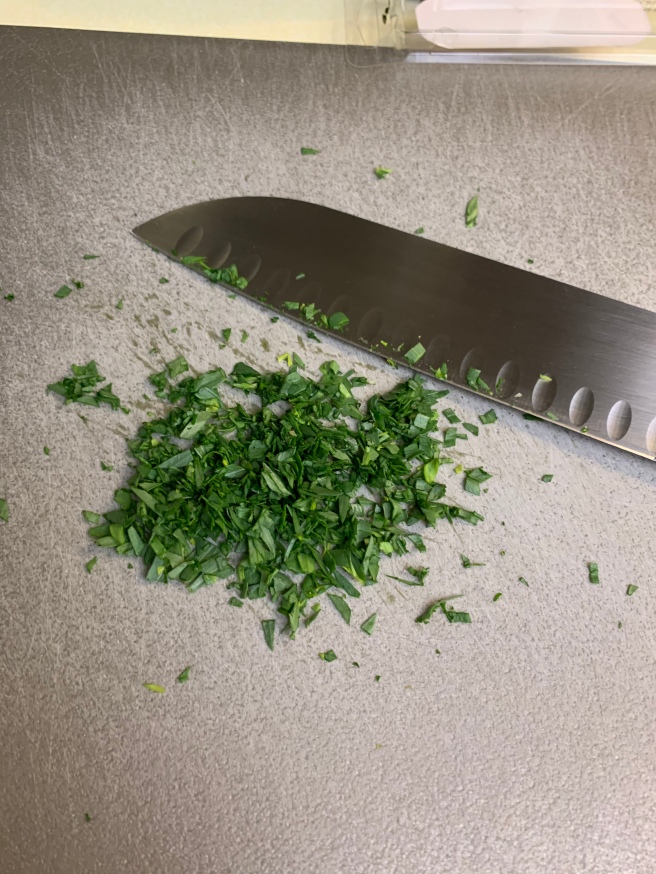
Chop the celery stalks and add to the bowl with the tarragon. Note: cut the celery in half then quarter the halves lengthwise, then dice (see photo below).


Next, dice the apple and add to the large bowl.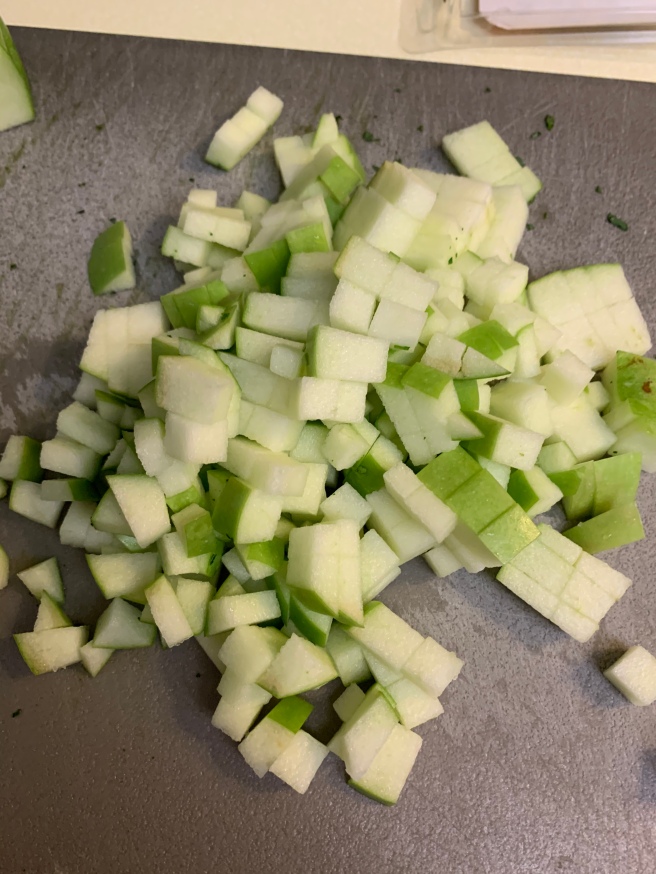
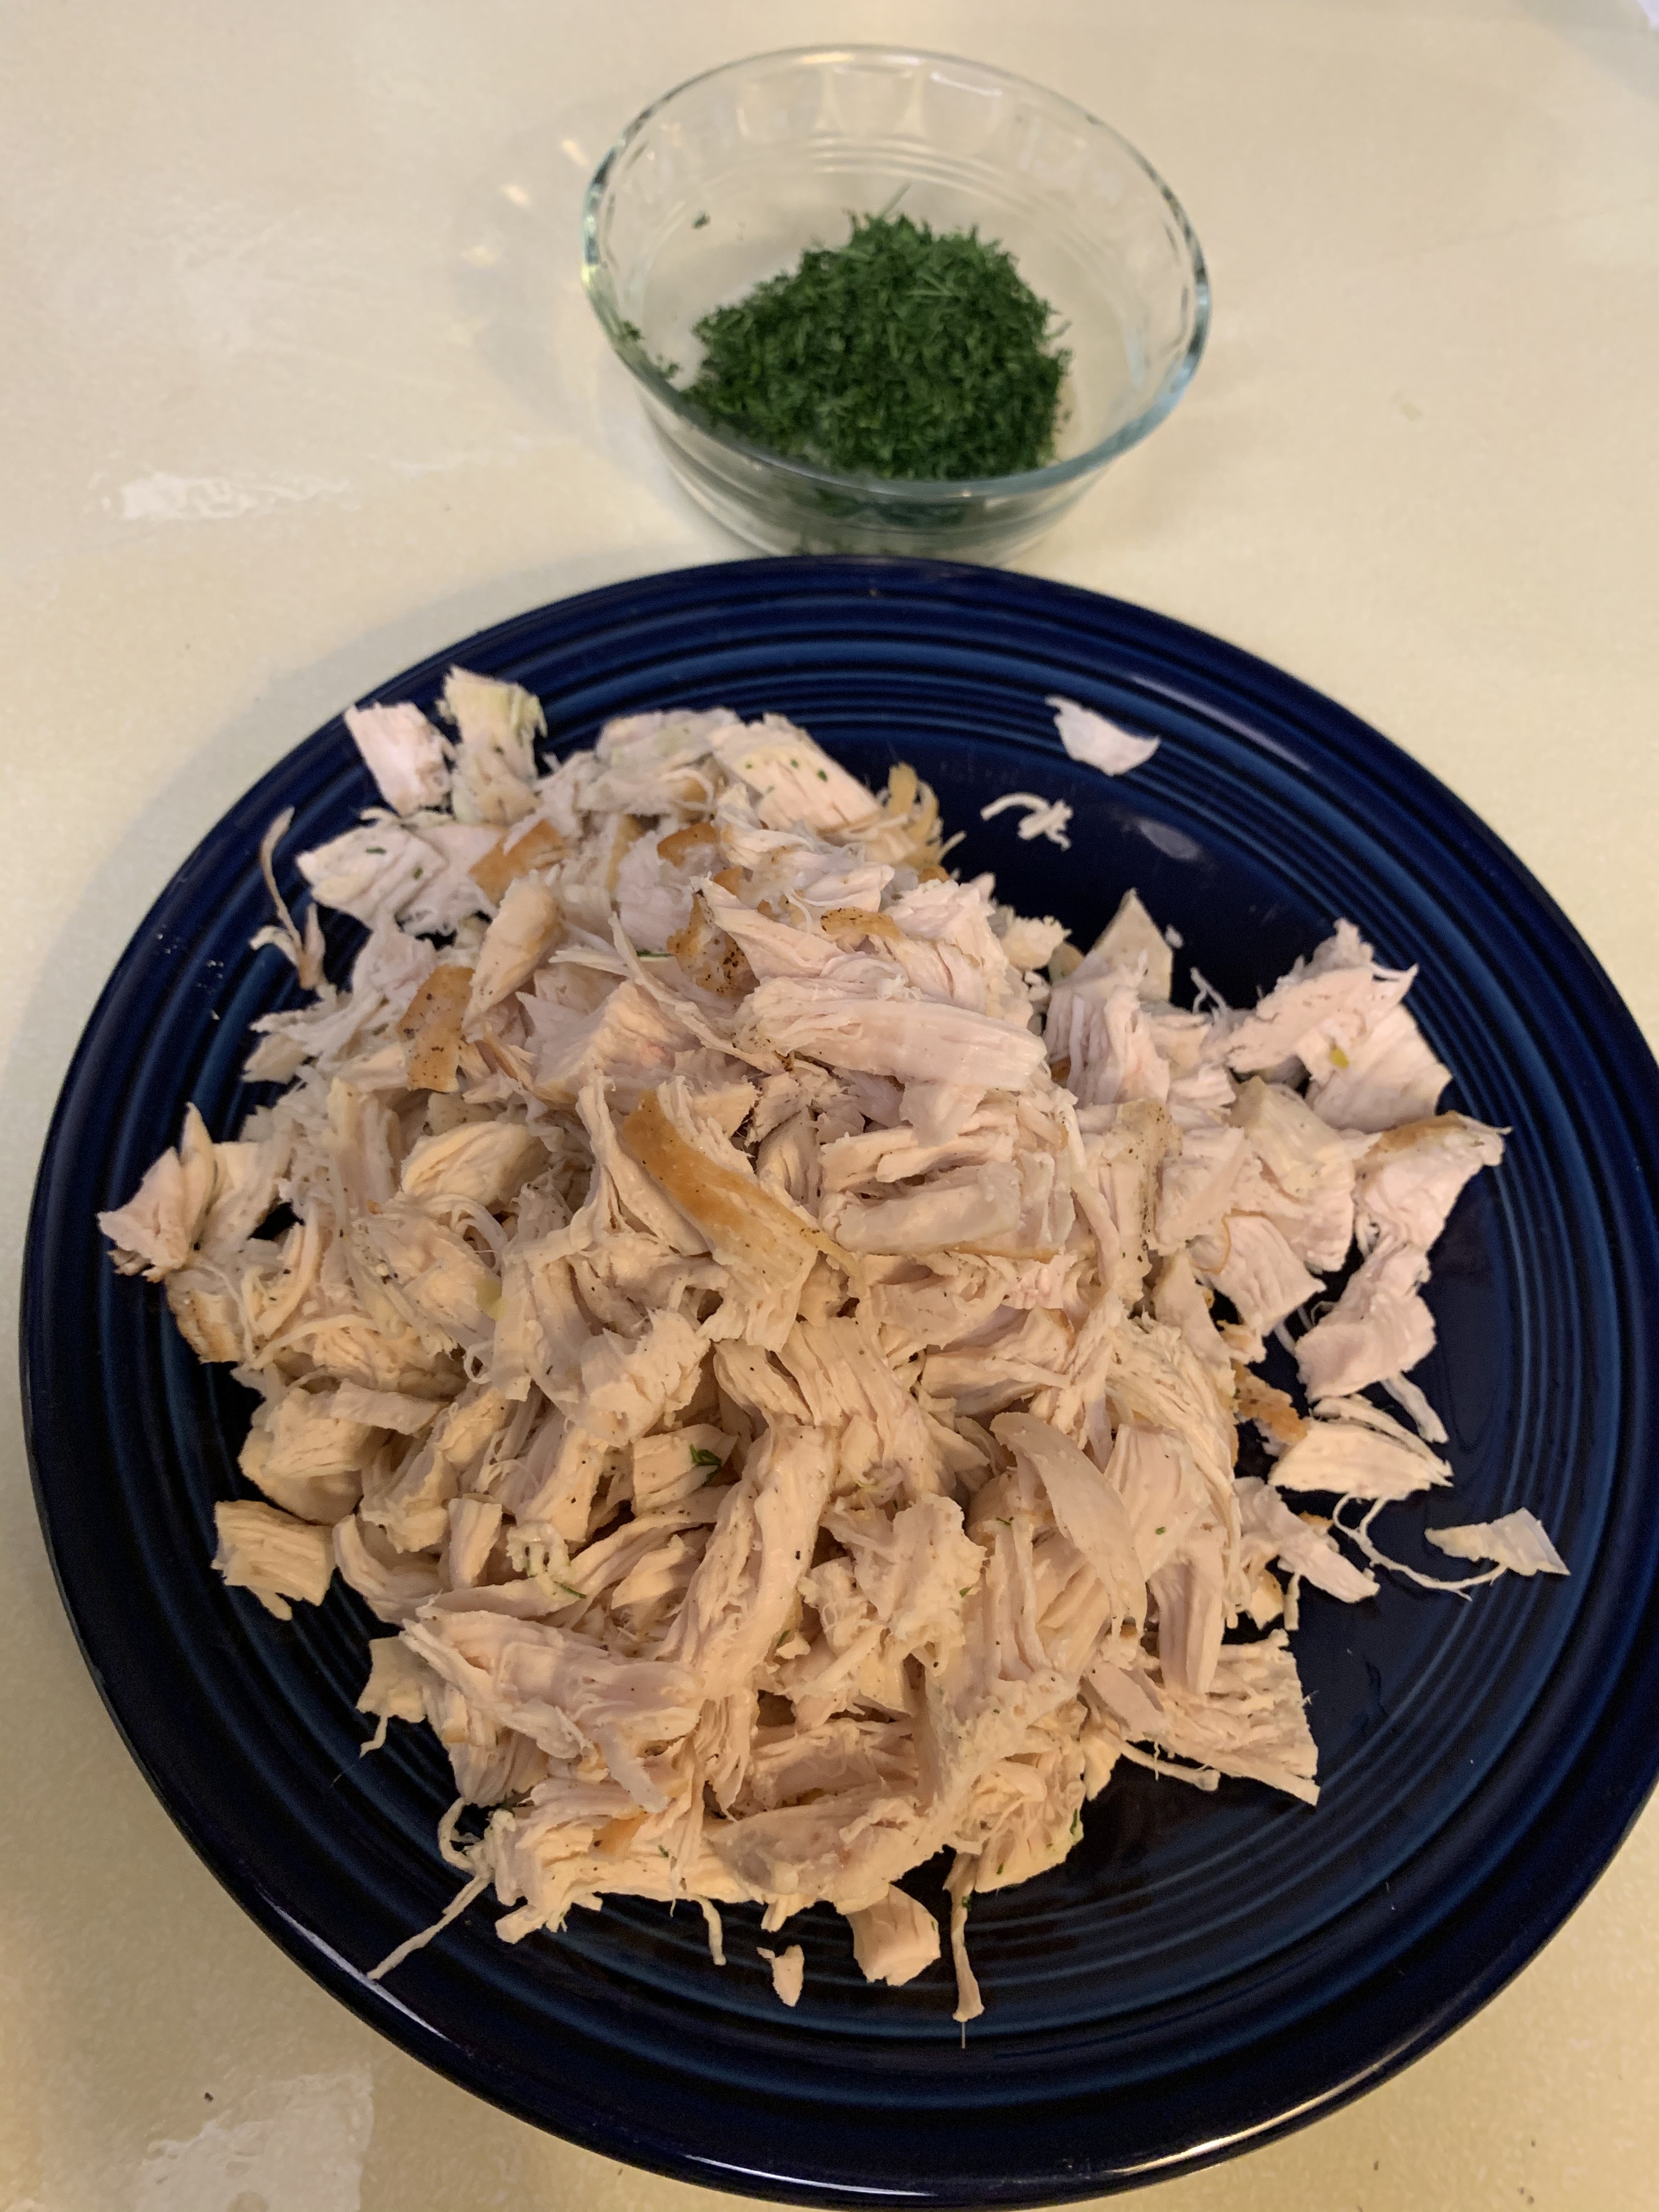
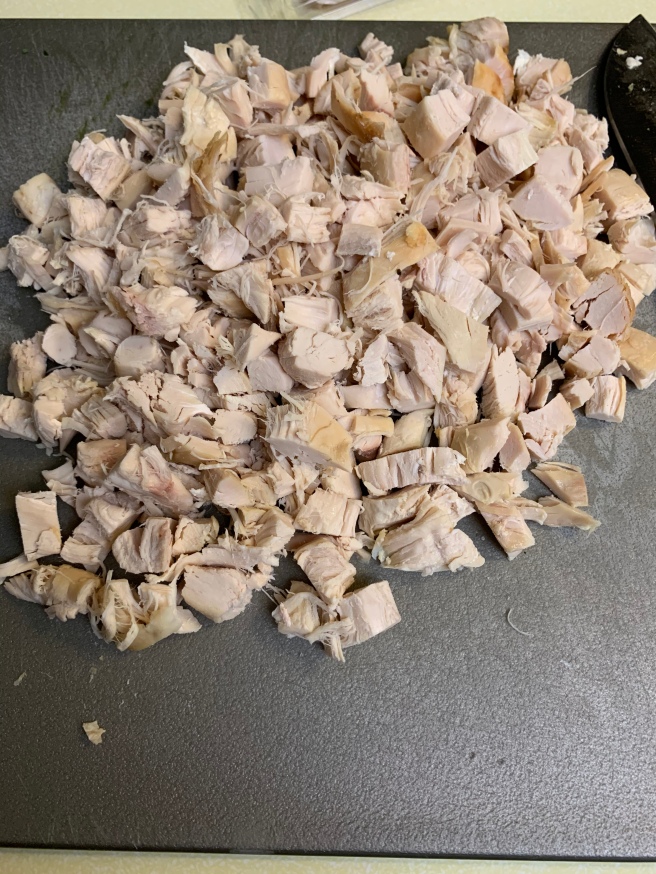
Finally, chop the rotisserie chicken and add to the bowl. Store bought rotisserie chicken is fine (Barefoot Contessa) and it is also a time saver.
Take the mayo mixture and pour over the ingredients in the large bowl and combine well. It may need more of the mayo mixture go ahead and mix up another 1/8 of a cup of mayo, a teaspoon of mustard and a teaspoon of the cornichon liquid. Sometimes it may need additional. I would rather make the basic amount and then add more, if necessary. Add salt and pepper to taste. I prefer kosher salt.

I think it is best to make this the night before serving because the time allows the flavors marry.
I serve this on toasted bread with lettuce and a sandwich kosher pickle and some olives for eyes. The olives serve two purposes, they are on toothpicks which hold your sandwich together while you’re eating it. And second, they are delicious to eat. Also, do not forget the fork, some of the delicious goodness is bound to spill out.
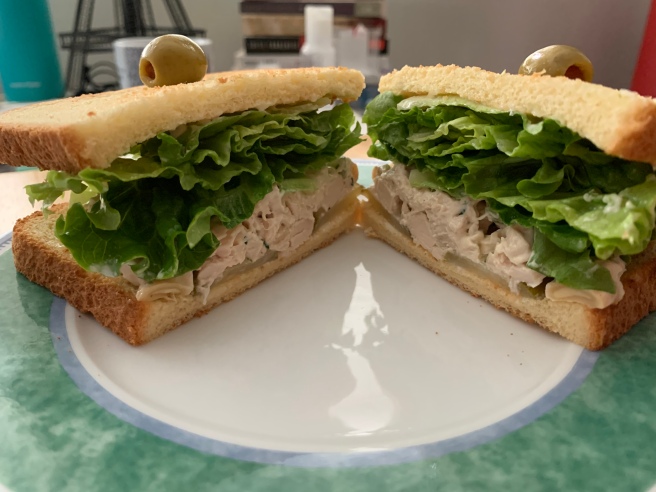

I love how it looks like a little face!
The combination of the depth of the Amora mustard, with the cornichon liquid, as well as the crunchy celery, sweet and tart green apple, and the light sweet and licorice flavor of the tarragon will surely be a crowd pleaser.
Until I learn the handy dandy print button feature, I’ve posted the recipe in its entirety sans photos below for ease of printing.
RECIPE
Tarragon Chicken Salad (8-10 Sandwich Servings)
Ingredients
- 1/2 cup mayo
- 1 tsp Amora Mustard (you can use dijon in a pinch)
- 1-2 teaspoons of Maille Cornichons liquid
- 1/4 cup (heaping) of roasted unsalted cashew pieces
- Salt and Pepper to Taste
- 1lb of chopped rotisserie chicken
- 3 celery stalks quartered and diced
- 1 to 1 1/2 Tablespoons of finely chopped tarragon
- 1 green apple diced
2 Bowls – one small bowl for the mayo mixture and a larger bowl for all the ingredients and toss the mayo mixture in at the end.
First, clean the green apple and celery stalks by rinsing and drying them. Set aside.
Second, take the mayo, mustard, cornichons liquid, and combine well in a small bowl with cashew pieces, and set aside. Almonds are also a good option.
Third, finely chop the tarragon and put into the large separate bowl. I sometimes add chopped chives but I did not this time.
Chop the celery stalks and add to the bowl with the tarragon. Note cut the celery in half then quarter the halves lengthwise, then dice.
Next, dice the apple and add to the large bowl.
Finally, chop the rotisserie chicken and add to the bowl. Store bought rotisserie chicken is fine (Barefoot Contessa) and it is also a time saver.
Take the mayo mixture and pour over the ingredients in the large bowl and combine well. It may need more of the mayo mixture go ahead and mix up another 1/8 of a cup of mayo, a teaspoon of mustard and a teaspoon of the cornichon liquid. Sometimes it may need additional. I would rather make the basic amount and then add more, if necessary. Add salt and pepper to taste. I prefer kosher salt.
I think it is best to make this the night before serving because the time allows the flavors marry.
I serve this on toasted bread with lettuce and a sandwich kosher pickle and some olives for eyes. The olives serve two purposes, they are on toothpicks which hold your sandwich together while you’re eating it. And second, they are delicious to eat. Also, do not forget the fork, some of the delicious goodness is bound to spill out.